
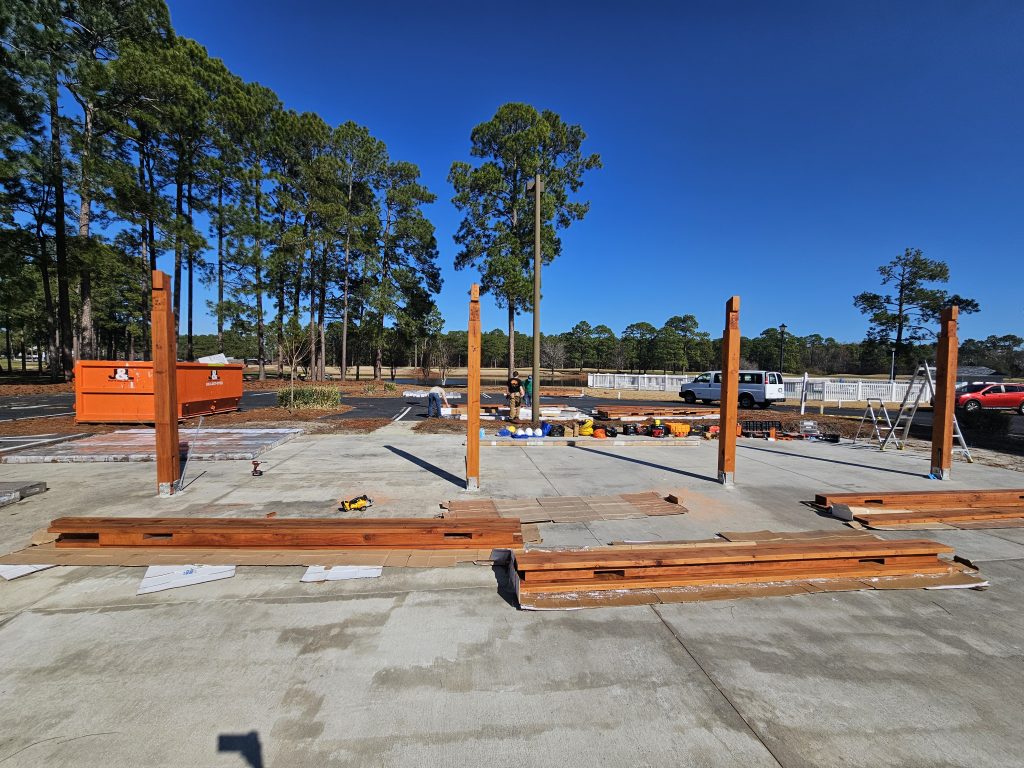
When our crew arrived in Myrtle Beach, SC, the concrete pad had already been poured and the eight footings with the high wind anchors had been embedded in the concrete and had dried. The fresh concrete pad had been sealed a couple weeks before.
The team unloaded on day one and sorted all the timbers into the various areas where they needed to be.
Next, each of the 8 posts was attached to an anchor with two carriage bolts as shown above.
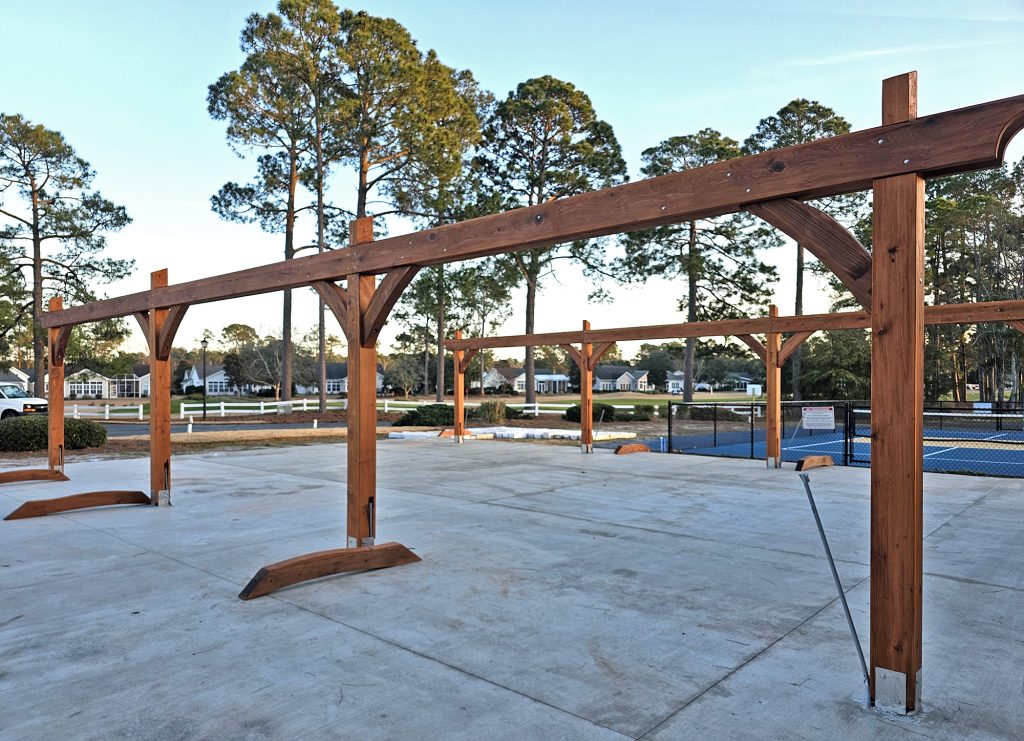
The Support Headers and knee braces were then added to tie the posts together.
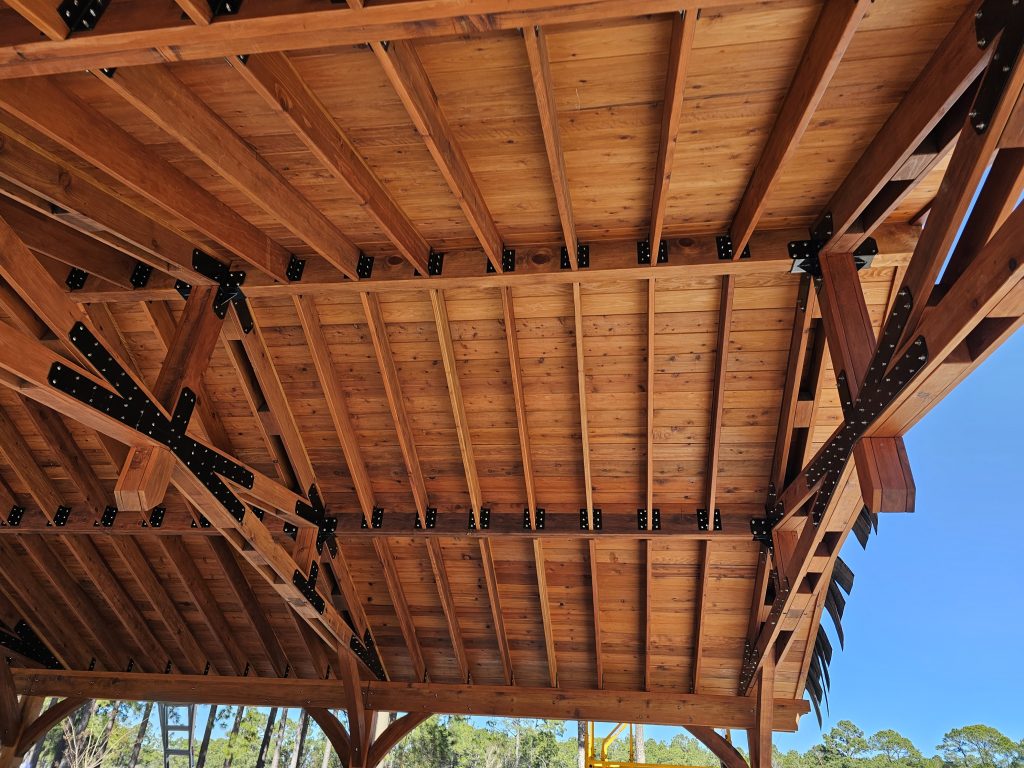
The support headers sit on notches on the inside and the outside of each post and are completed with both internal blocking running the full length of each support header.
About 30 inches in from each post, you can see the arched knee braces that are bolted to both the post and the complete support header to add more structural bracing.
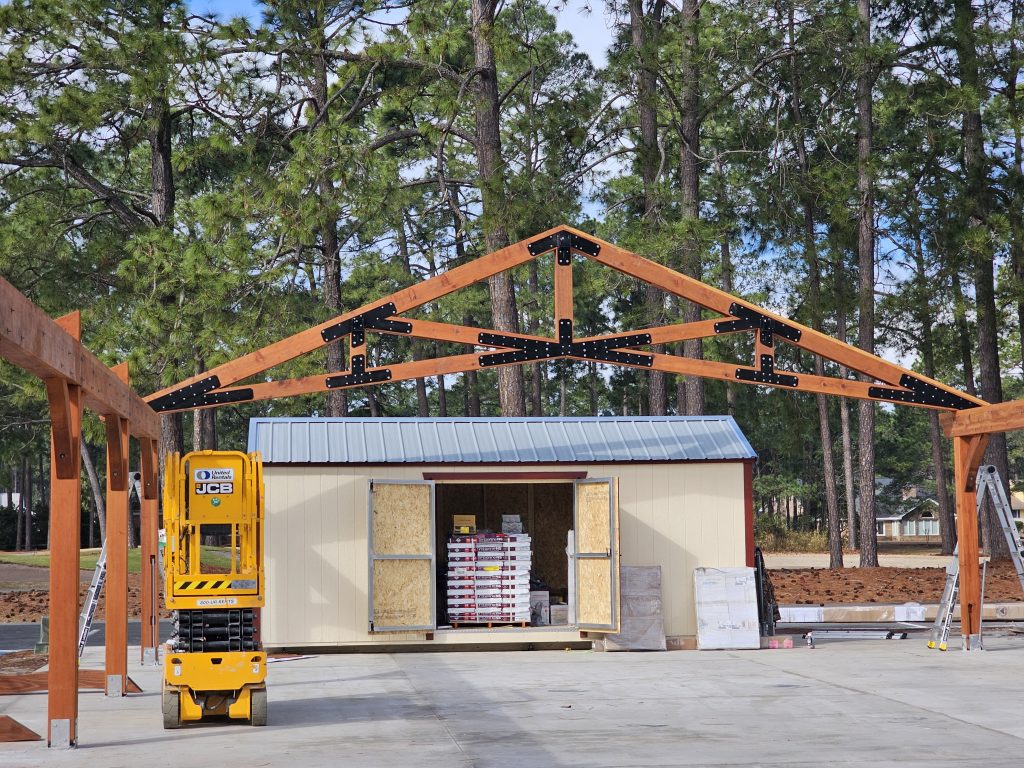
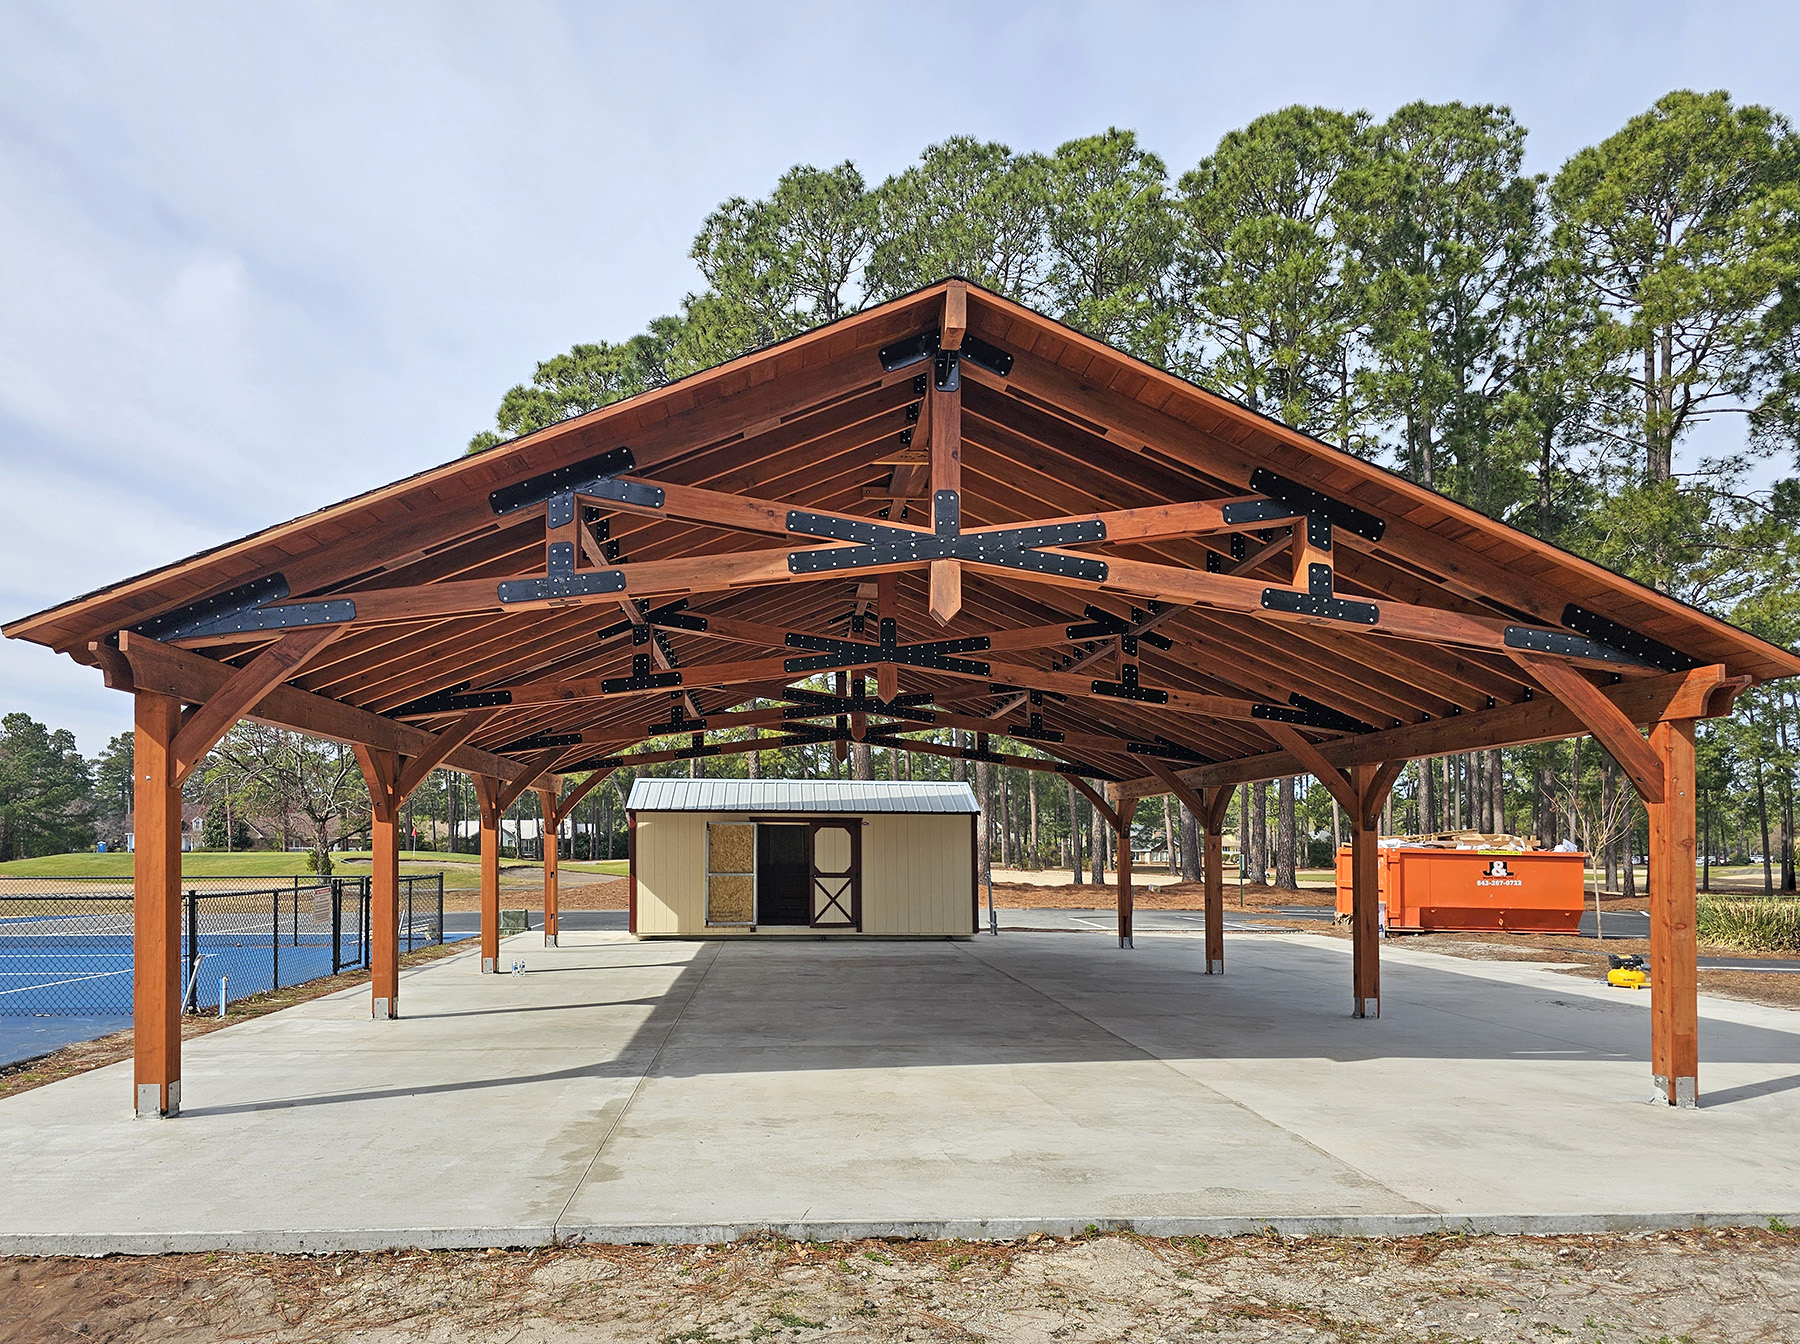
Once the Support Headers are completed and all the lateral bracing of the knee braces are bolted in place, the rafter trusses are hoisted into position one at a time beginning on the ends.
The first end trusses are bolted to the corner posts and then they are tied into one another with the ridge and auxiliary roof beams as shown in the photos below.
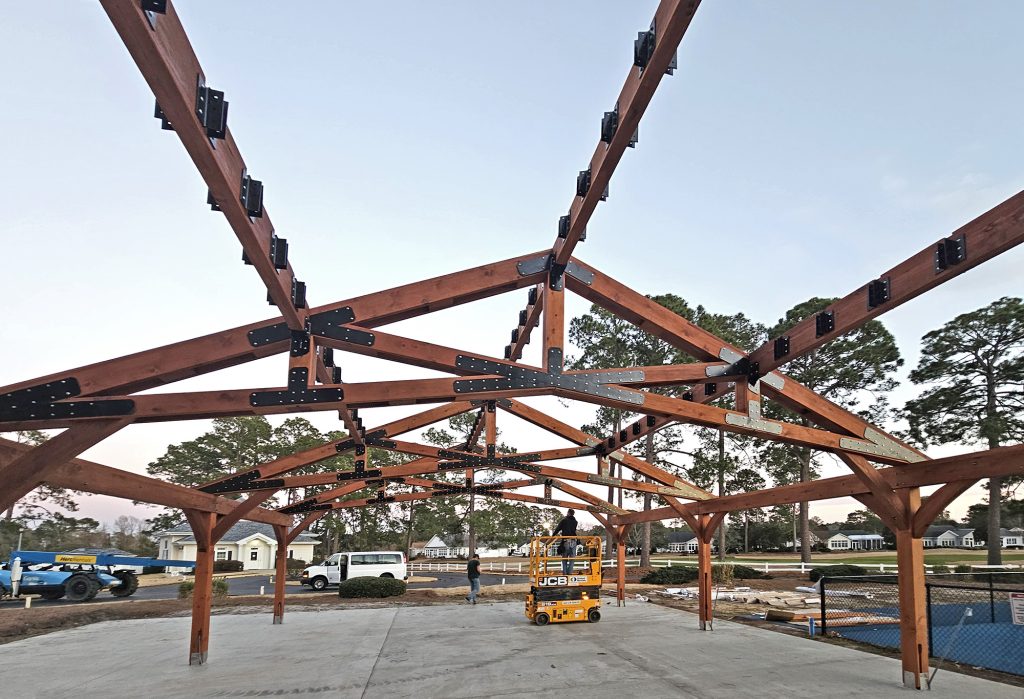
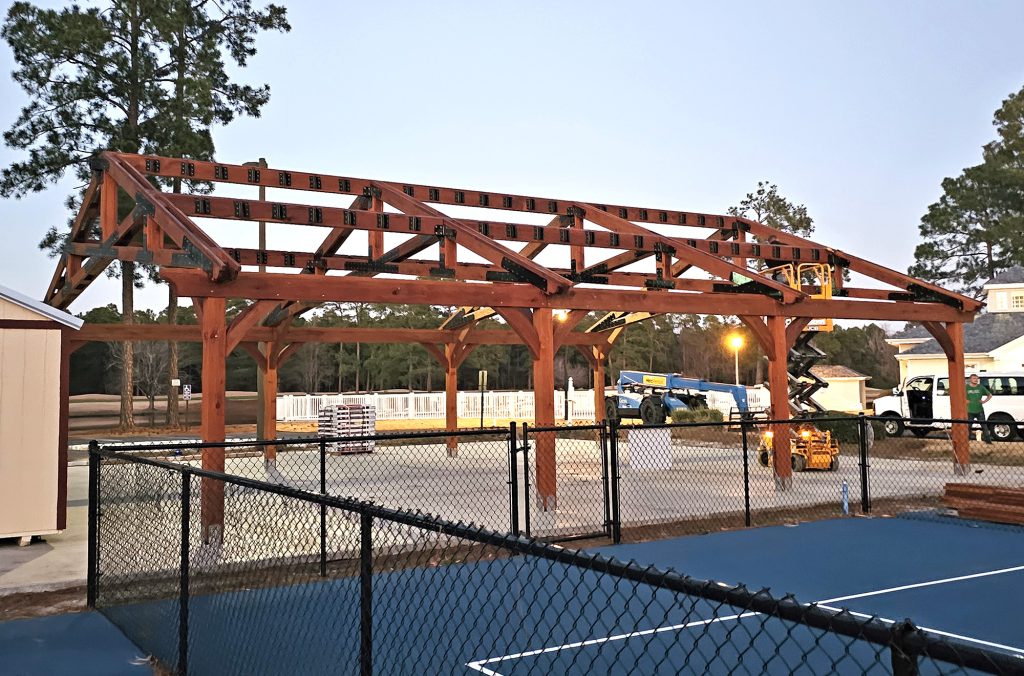
The two photos above show all the Ridge beam and auxiliary beams tying the Rafter trusses all into one another to complete the structural skeleton of the pavilion.
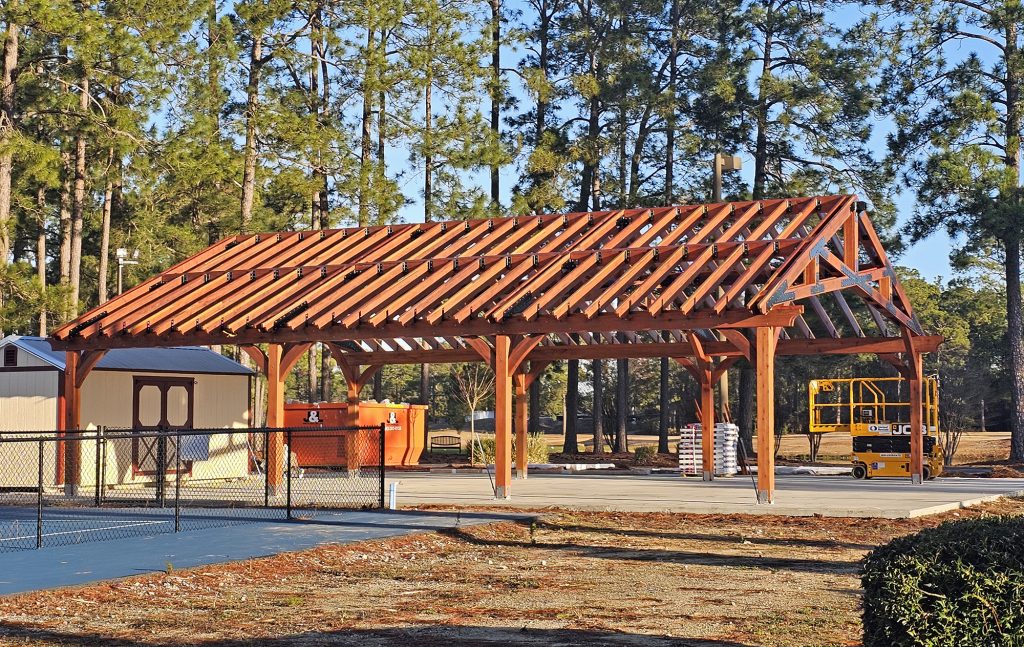
Once the length long beams are all in, we add each rafter between the header board and the auxiliary beam at 24 inch on center spacing. The same is done between the auxiliary beam and the Ridge Beam on both sides. Once all the rafters are attached as shown in the photo above, the roof is ready for the tongue and groove roofing skin.
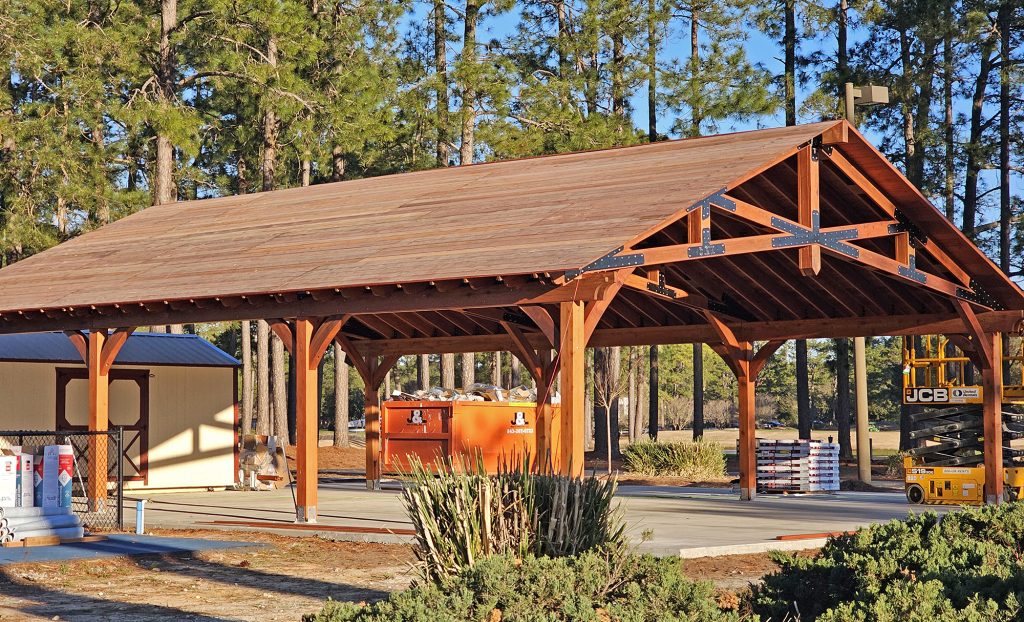
The 1×8 tongue and groove boards in matching Redwood add the final touch. The combination of steel and wood calls out to another time.
All the timbers are finished with 220 grit sanding and two coats of the Sikkens brand of penetrating oil stain/sealer.
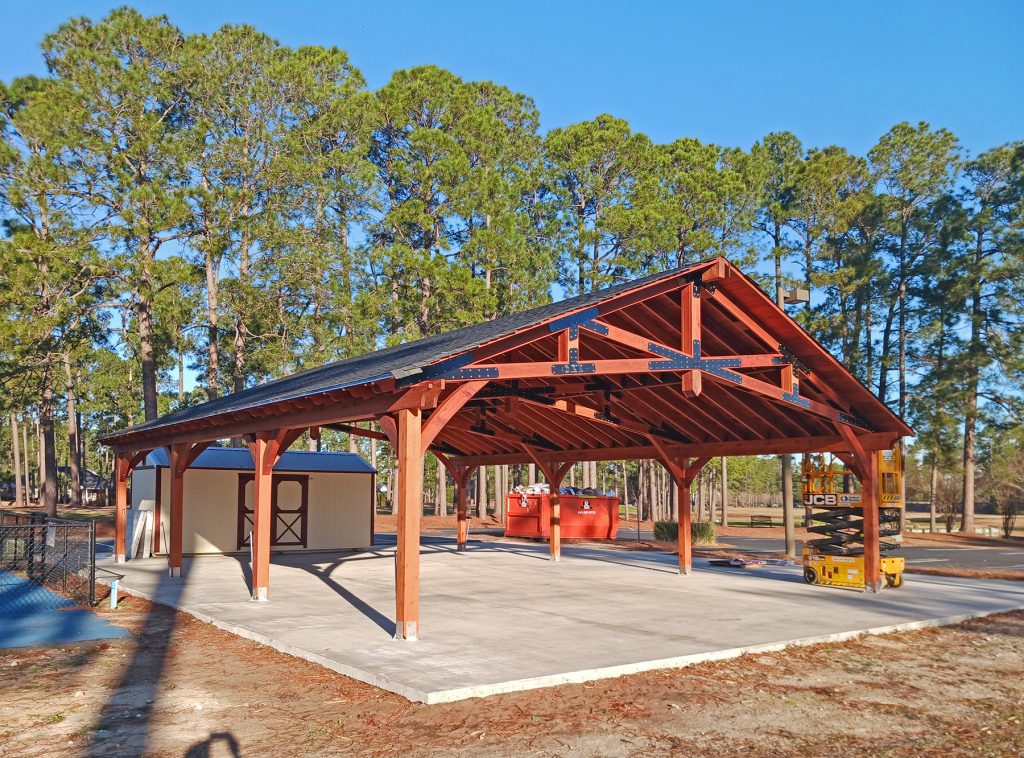
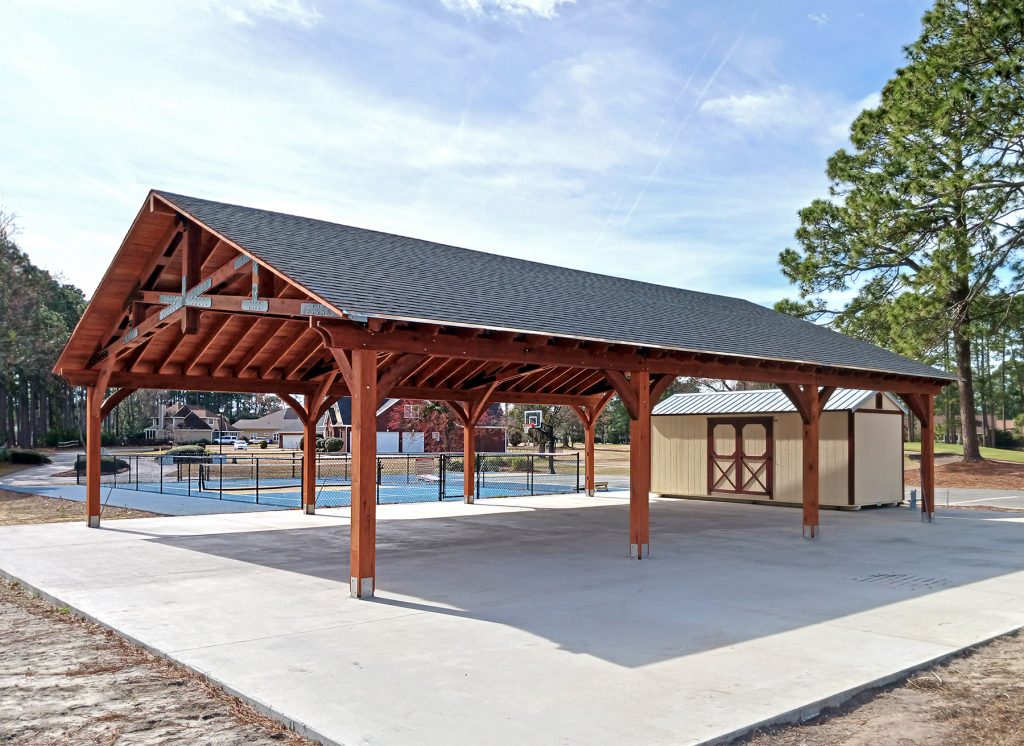
The final roofing can be anything you like. In most cases, folks go with a color and/or a material that matches something nearby. In this case it was a dark gray asphalt shingle that added the final touch.